
User Guide of Leawo Mac DVD Ripper
Drag and drop or click "Add Blu-ray/DVD" button to select the DVD-ROM drive with DVD disc inserted or DVD folder for importing. Then you would have 3 modes to choose for DVD loading: Full Movie, Main Movie and Custom Mode. The program would automatically choose the longest DVD title or chapter (generally the main movie) for loading if you choose Main Movie mode. If you choose Custom Mode, this program allows you to choose chapters or titles to load in upon your own desire.
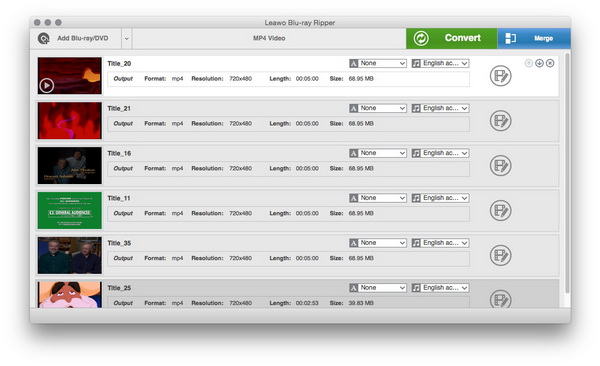
In this step, you can choose DVD subtitle and audio, make a selection of titles and chapters to be ripped, as well as to play back the DVD movie in the built-in player, merge files into one, snap screenshots, etc.
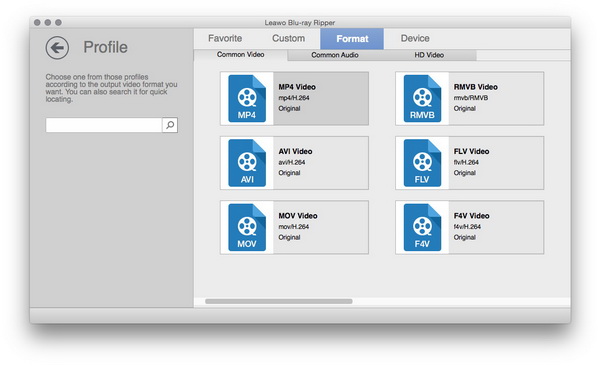
Then, click the clickable drop-down box next to the “Add Blu-ray/DVD” button, and then select “Change” option on the drop-down panel to enter the Profile panel, where you could freely select output format according to your target device or player.
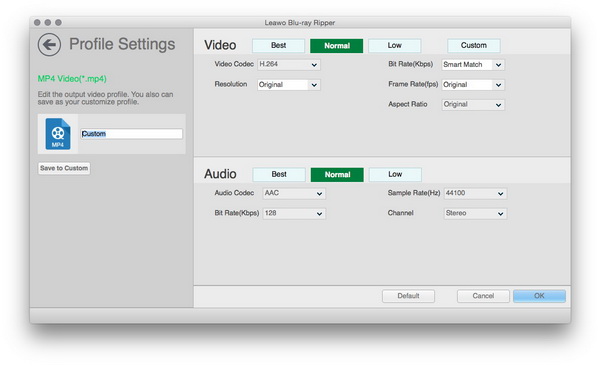
Given specific demands, Leawo Mac DVD Ripper prepares a detailed switch box of parameters related to each profile, available by clicking "Edit" button on the drop-down panel. On the Profile Settings panel, advanced users can set Bit Rate, Frame Rate, Aspect Ratio, etc. here. Custom settings can be saved to a user profile for later use.
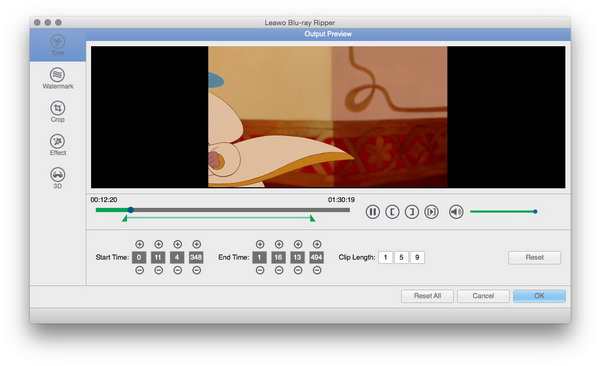
Leawo Mac DVD Ripper also features easy home video editing function. Select a title or chapter and right click it to select “Edit” on the right-click menu, or directly click the “Edit” icon in selected title/chapter to call out video edit window.
Click Trim to split the video or get a segment from the video.
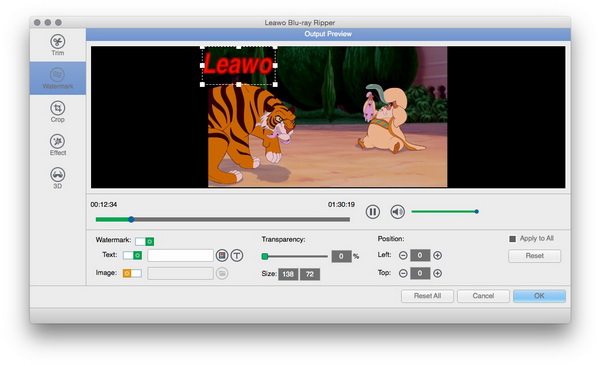
Click Watermark tab and then slide “Watermark” to green. You’re then able to create either image watermark or text watermark for the video.
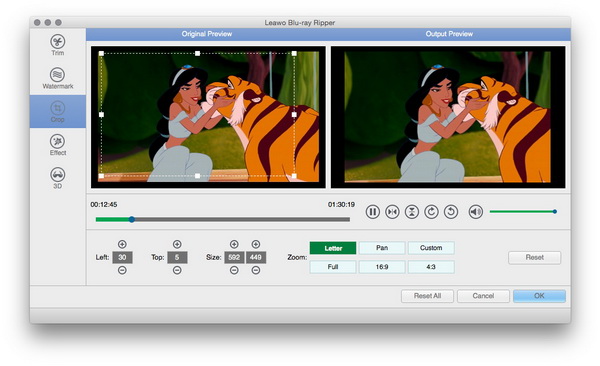
Click Crop tab to crop the video frame and change its aspect ratio appearance. You could also rotate videos under the Crop tab.
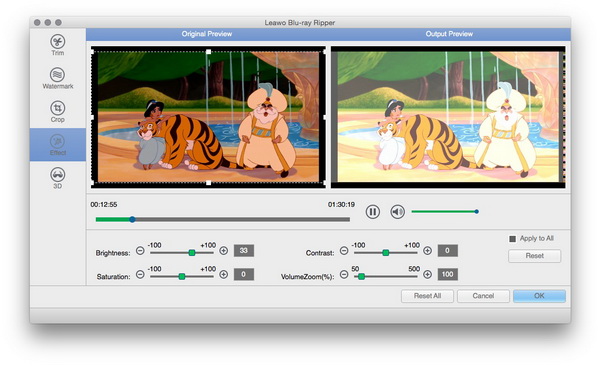
Click Effect tab to change Brightness, Contrast and Saturation.
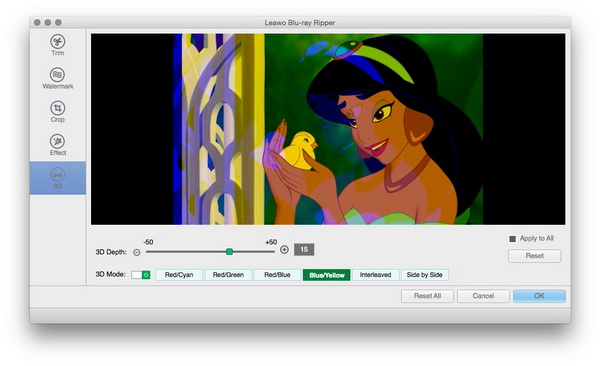
Open the 3D tab and then slide 3D Mode to green. You can then select a 3D effect for output files and adjust 3D Depth as well. 6 different 3D effects are available: Red/Cyan, Red/Green, Red/Blue, Blue/Yellow, Interleaved, and Side by Side.
Return to the home interface and click the big green “Convert” button. On the popup sidebar, set output directory in the “Save to” box.
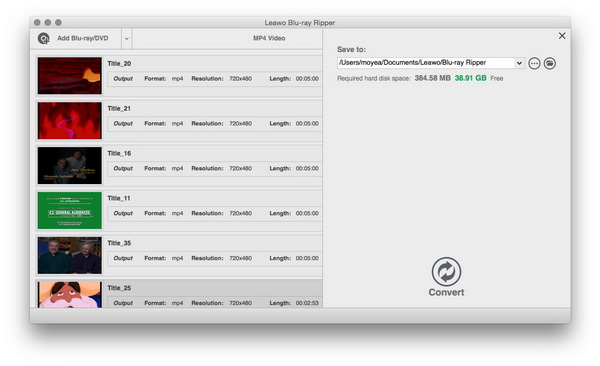
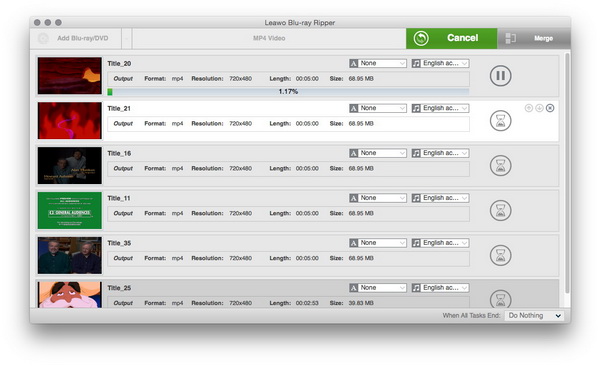
Finally, click the Convert button at the bottom of the sidebar to start converting DVD movies on your Mac computer.

 Products List
- Video Tools
- Total Media Converter Ultimate
- Video Converter Ultimate/Pro

- Video Converter
- Blu-ray Creator
- DVD Creator
- iTransfer
- Music Recorder

- Video Accelerator
- PowerPoint Tools
- PowerPoint to DVD Pro
- PowerPoint to DVD Standard
- PowerPoint to Video Pro
- PowerPoint to FLV
- PowerPoint to YouTube
- PowerPoint to iPad
- Blu-ray/DVD Tools
- Blu-ray Video Converter
- Blu-ray Copy
- Blu-ray Ripper
- Blu-ray Player
- Blu-ray to MKV Converter
- DVD Ripper
- DVD Copy
- Utilities
- iOS Data Recovery
- iOS Data Recovery for Mac
- Tunes Cleaner
- Tunes Cleaner for Mac
- SWF Encrypt
- SWF Encrypt for Mac
- Mac Video Tools
- Video Converter Pro for Mac
- Video Converter for Mac
- Blu-ray Creator for Mac
- DVD Creator for Mac
- iTransfer for Mac
- Music Recorder for Mac
- YouTube Downloader for Mac
- iAm Ringer for Mac
- Mac Blu-ray/DVD Tools
- Blu-ray Ripper for Mac
- Blu-ray Copy for Mac
- Blu-ray Player for Mac
- Blu-ray to MKV Converter for Mac
- DVD Ripper for Mac
- DVD Copy for Mac
with the good work.
From Jay Burt
I was lucky that my search words matched your website offering. I may recommend to
my friends about you.
From Rajesh Madhawarayan